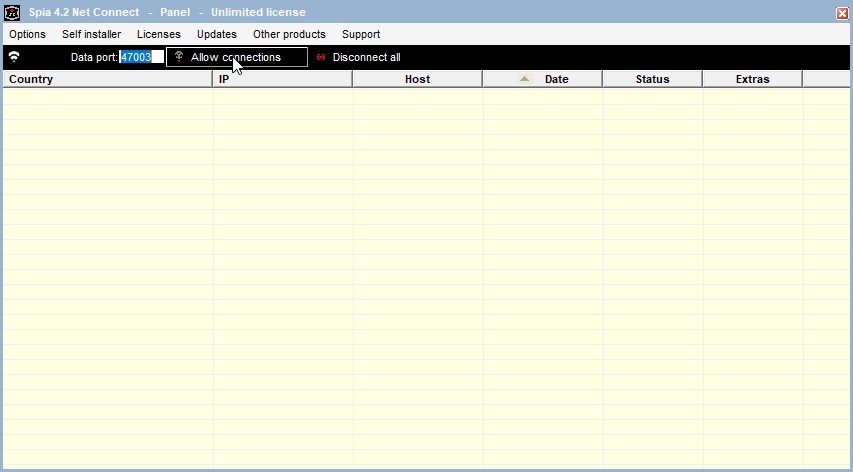
Step 01 - Open the Spia 4.2 Net Connect panel and click the "Allow connections" button to open the port.
In this example, we used port 47003.
The first time, the Windows firewall will probably ask you to enable it, just confirm.
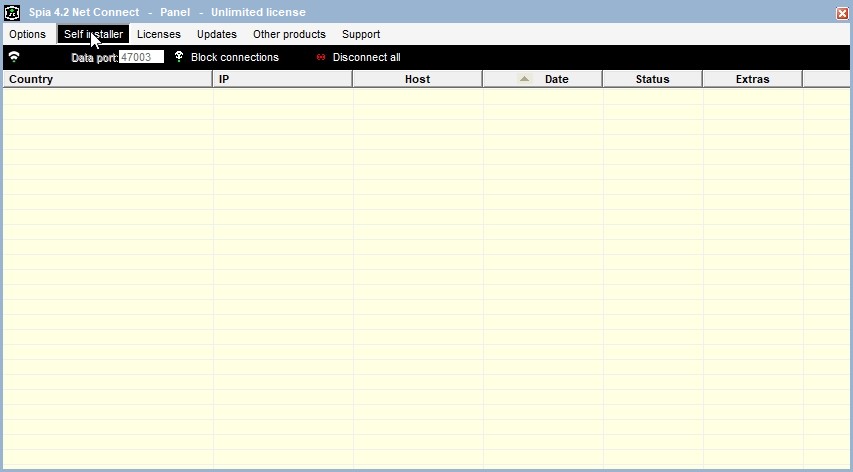
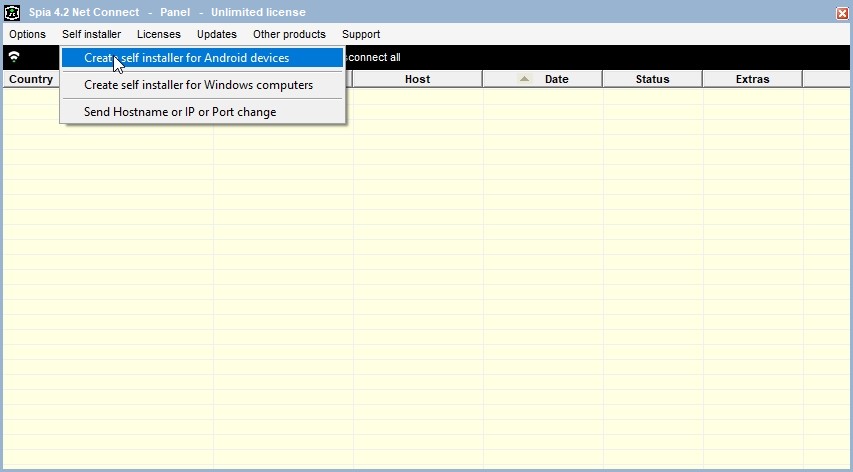
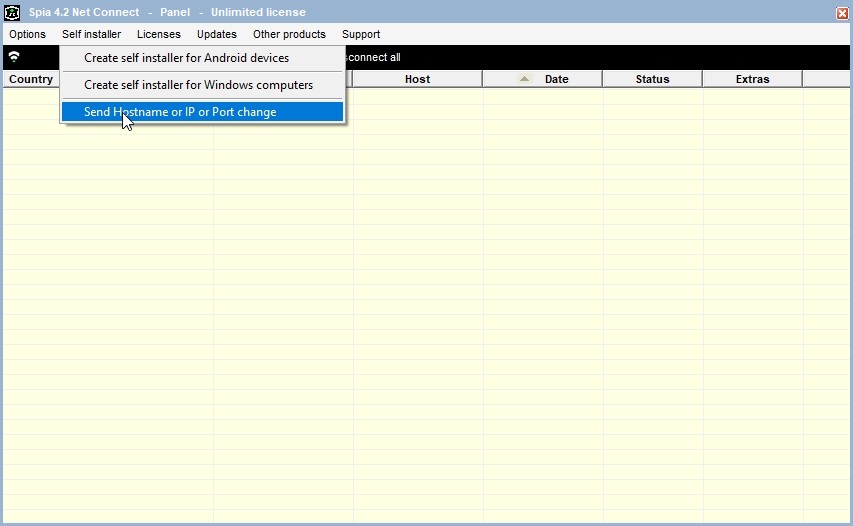
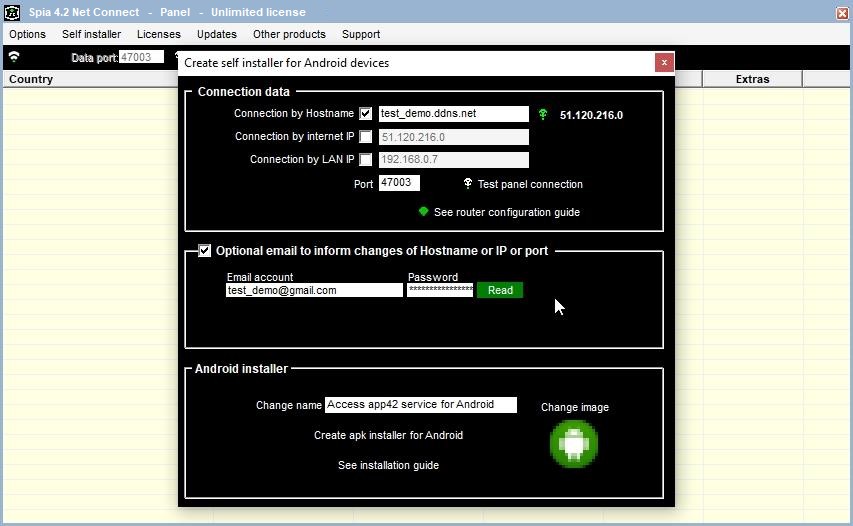
Step 02 - Click on the top menu "Self installer" and then on "Create self installer for Android devices".
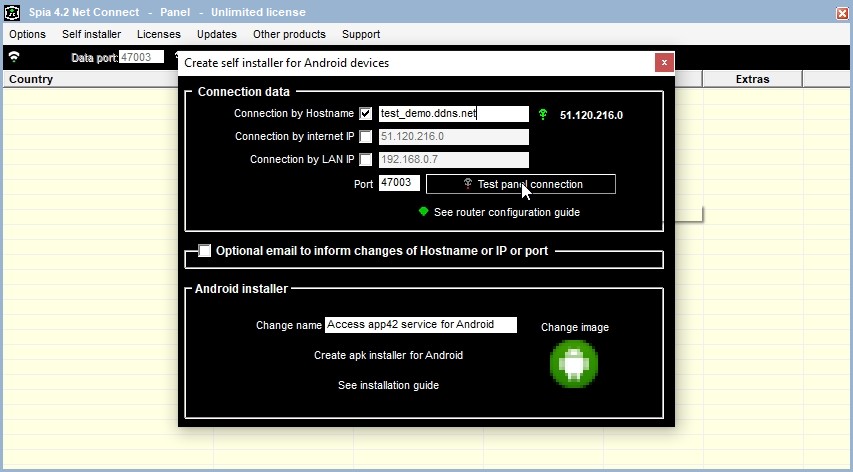
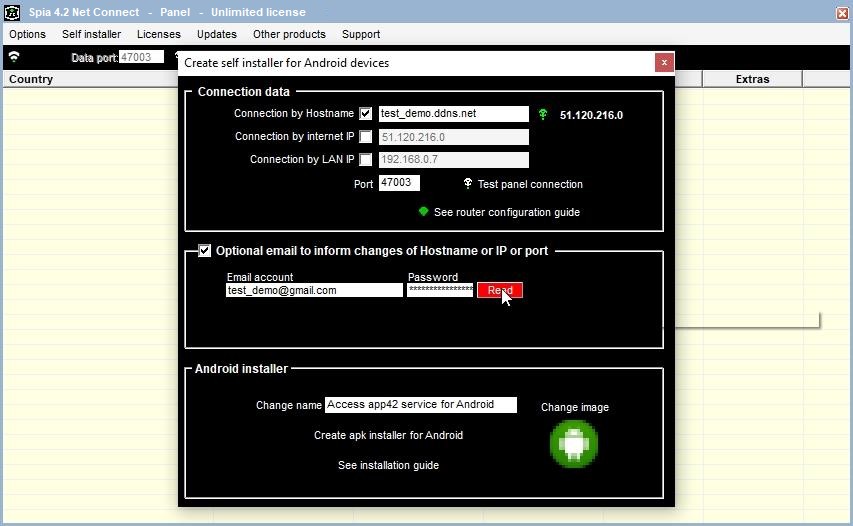
Step 03 - Here we must inform which IP and port our panel is on because the devices will connect to it.
Check the box "Connection by internet IP" to see your IP.
Step 04 - If our IP is always fixed, we can keep this information.
But IPs are usually dynamic and sometimes change.
The best way to inform where our panel is is to create a Host through noip.com for example and
inform this Host name because it will always point to our IP.
Check the box "Connection by Hostname" and inform the Host name.
Then click on the button next to it to test the Hostname.
Step 05 - The button should turn green and put the same IP that is below in "Connection by internet IP" next to it.
IMPORTANT: The two IPs must be the same.
Step 06 - Now let's test the connection to the panel.
This is how remote devices will connect to our panel.
Click on the "Test panel connection" button.
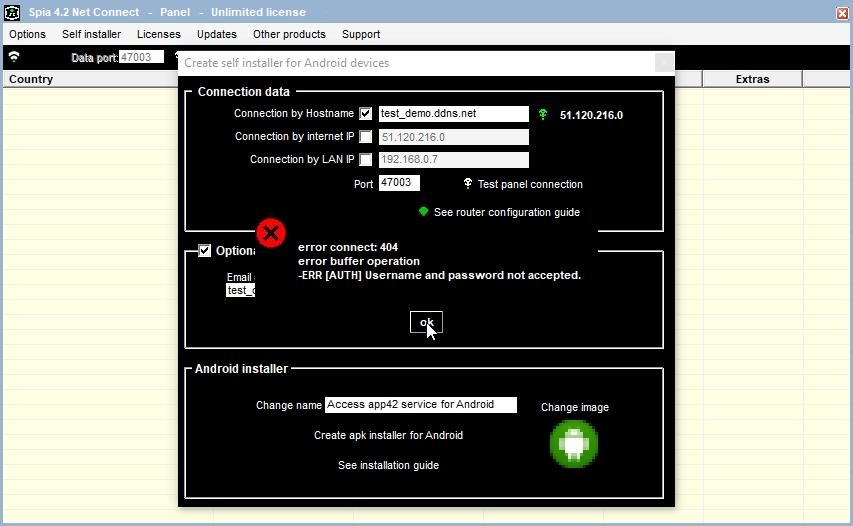
Step 07 - In the event of a failure as shown in the figure below, the failure may occur in the following cases:
I - The internet connection has dropped.
II - The port on the panel is closed.
III - The router is not configured correctly.
IV - The router is configured but the LAN IP has changed.
The vast majority of internet connections are made through routers, the connection arrives at the router and
it does not know what to do with it because it is not configured.
In this case, we must configure the router to tell it that everything that comes on port 47003
should be sent to the IP 192.168.0.7, which in this case is our LAN IP where the panel is located.
The LAN IP is informed in "Connection by LAN IP" and if it changes, it must also be changed on the router.
If everything is correct but the error persists, close the panel by going to "Options / Exit" and try again.
Step 08 - But if everything is ok, the message shown in the figure below should appear.
Step 09 - Now let's talk about the email in case of a change of Host, IP or port.
This email is optional and is rarely used, since if the Hostname is entered, it will manage the IP changes.
However, we may want to enter a fixed IP instead of Hostname, and if this IP changes,
we should enter the new IP through this email.
We can also enter the Hostname and for some reason this Hostname changes,
we should enter the new Hostname through this email.
The information about the new IP or Hostname is entered through the panel by going to the option
"Self installer / Send Hostname or IP or Port change" as shown in the figure below.
Step 10 - Returning to the email, the software on the remote devices will attempt to connect via IP and port according
to the configuration above.
If it is unable to connect, it will enter a loop of attempts until it succeeds in connecting.
In this loop, it will do the following:
I - If there is no email information, it will try to connect according to the configuration provided.
II - If there is email information, it will check the mailbox to see if there is IP/Host information and,
if there is, it will try to connect using this information.
If it can connect using the information from the email, it will replace the configuration information with
this email information for the next connection attempts.
IMPORTANT: The software only reads emails with the subject "sc42" and the rest will be ignored.
When the software reads the email with the subject "sc42", it deletes it from the mailbox.
So, if, for example, there are 20 devices that require changes, the email must be sent 20 times.
Check the Optional email box as shown in the figure below.

Step 11 - Fill in the Email account and Password fields and click the "Read" button to test the email reading.
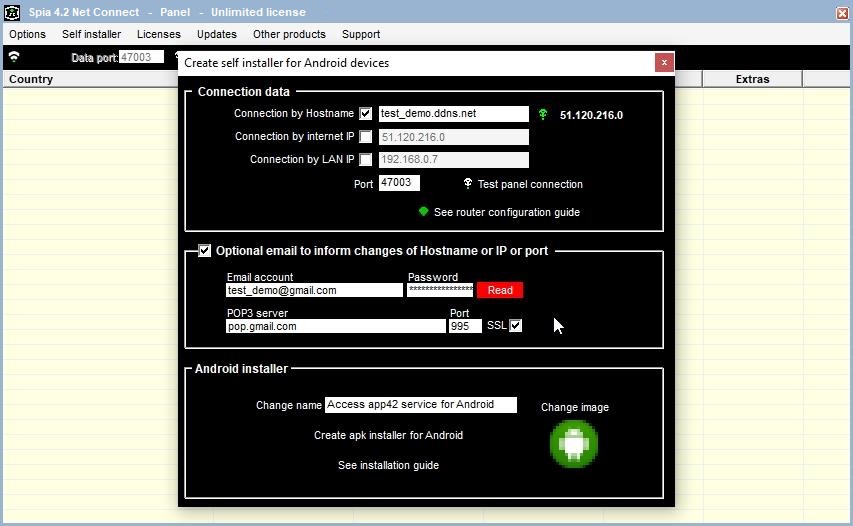
Step 12 - In case of an error, it will open the POP3 reading server configuration.
Step 13 - In this example, we use a GMail account.
The Gmail POP3 server data is usually:
POP3 server: pop.gmail.com
Port: 995
SSL: enabled (Secure Sockets Layer)
If you use a GMail account, a tip is to use 2-step verification and then
enter the option to generate a password for external applications.
GMail generates a 16-character password and it is this password generated by GMail that must be entered.
When the email configuration is correct, the message as shown in the screen below should appear and
the "Read" button should turn green.
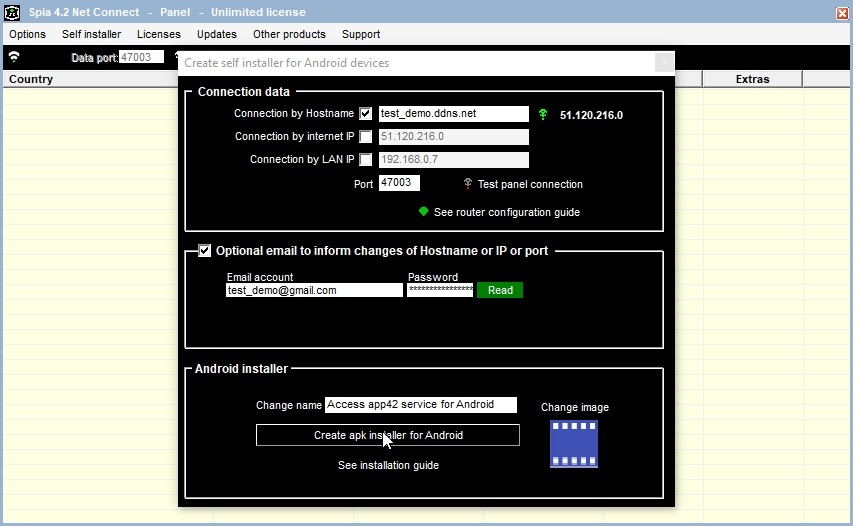
Step 14 - Android installer.
The panel will create an apk file to be run on devices running Android 11 or later.
You can change the name of the service as long as it has up to 32 characters.
You can also change the icon that will appear on the device by clicking on the icon and choosing another one.
Once this is done, just click on the "Create apk installer for Android" button.
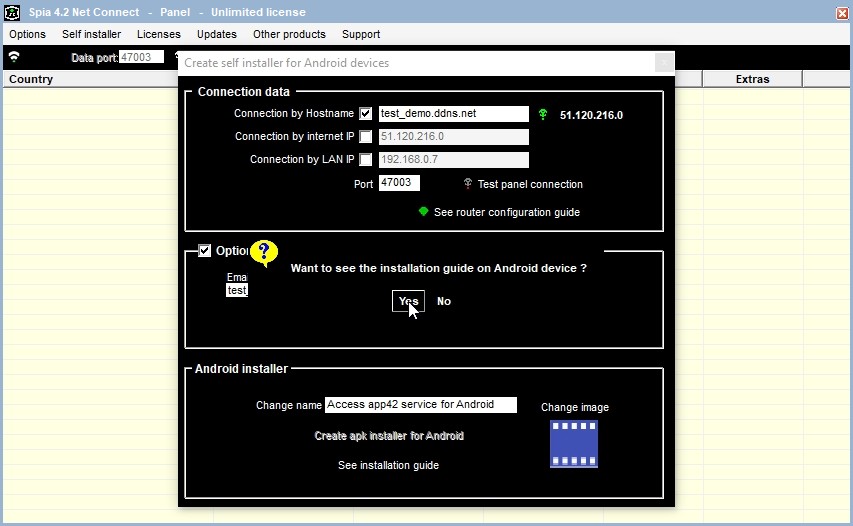
Step 15 - Installer created.
The installer is created and a message is displayed and the folder where it was created opens.
The option to view the installation guide on Android devices is also shown.
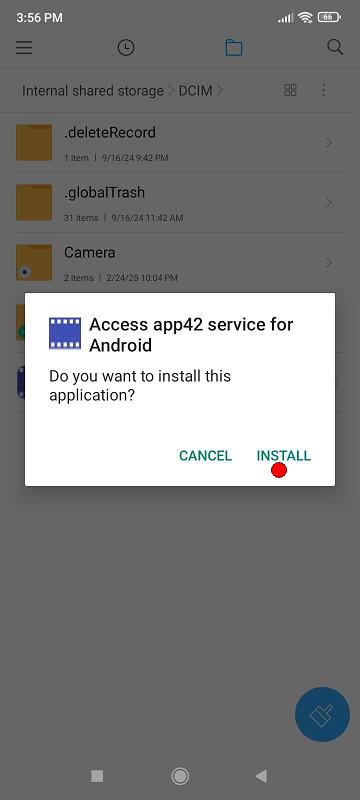
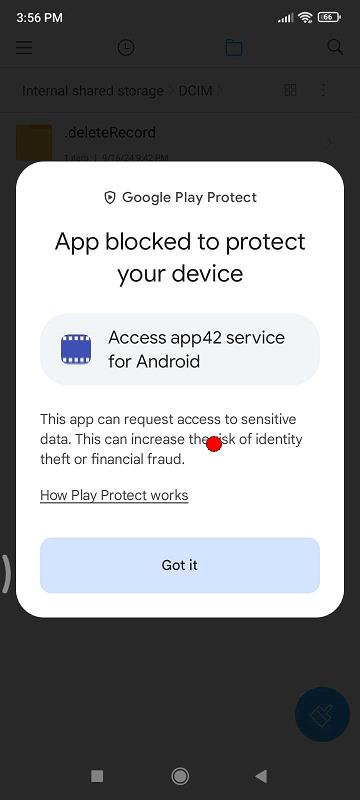
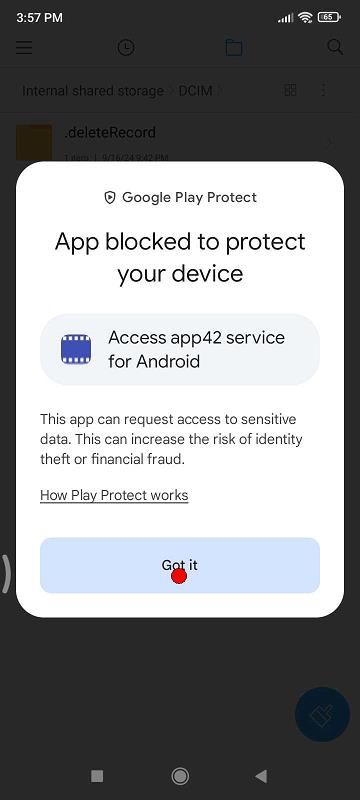
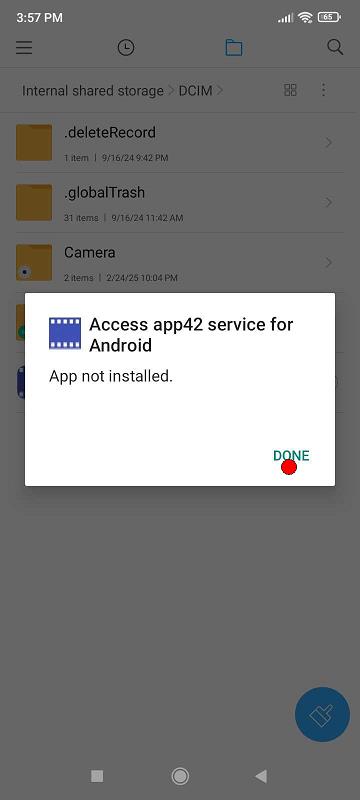
Step 16 - Play Protect warning.
If Play Protect is enabled, it may block the app because it is not a Play Store app.
Step 18 - The apk creates an accessibility service on the device that must be activated.
Once the service is activated, you are asked for the permissions that must be granted.
This link is an installation guide for Android devices.
https://www.youtube.com/embed/KH348HtzpPw